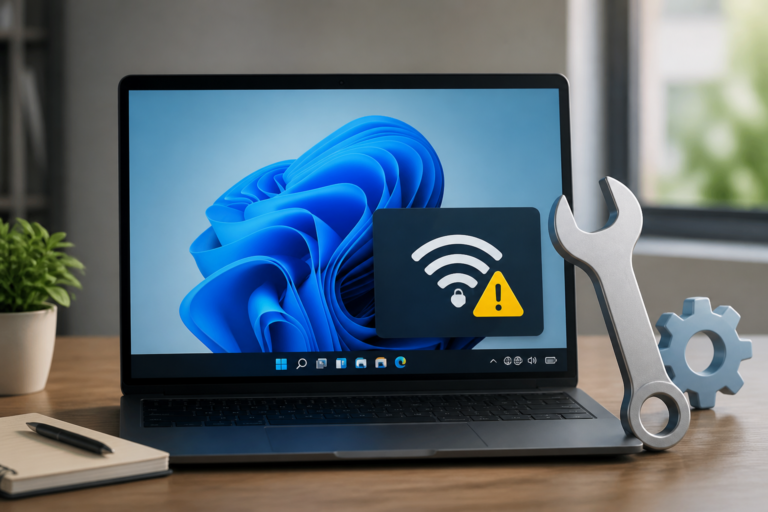

This issue is known as one hundred percent disk usage occurs when the hard drive or solid-state drive works at its maximum limit. This state prevents the computer from handling other tasks. It results in a slow system and frozen applications. This article provides a professional guide to resolve this problem. We will look at diagnostic steps and technical fixes. These methods will help restore your computer to its peak state.
High disk usage is often not caused by a single factor. It can result from background services or outdated drivers. In some cases, it is a sign of failing hardware. By following a structured approach, you can identify the root cause.
Diagnostic Analysis via Task Manager
The first stage of any repair involves a proper diagnosis. Windows provides a built-in tool called Task Manager for this purpose. You can access this tool by pressing the Control, Shift, and Escape keys at the same time. Once the window appears, click on the Processes tab. You will see a column labeled Disk. If the top of this column shows a red highlight at one hundred percent, your disk is fully occupied. This view allows you to see which specific application is responsible for the load.
It is important to observe the behavior of these processes for a few minutes. Some apps may spike for a short time during startup. This is normal and does not require a fix. However, if a process stays at the top of the list for a long time, it is a concern. Take note of the names of these processes. Common culprits include system tools or third-party antivirus software. Identifying these names will guide your next steps. This data is vital for a successful optimization strategy.
Optimizing System Services
Disabling the SysMain Service
One of the most frequent causes of high disk usage is the SysMain service. This service was previously known as Superfetch. Its goal is to speed up the system by preloading apps into memory. While this is helpful for some, it can cause heavy disk strain on older drives. To address this, you can disable the service. Open the Run dialog by pressing the Windows key and R. Type services.msc and press Enter. Locate SysMain in the list and right-click it. Select Stop to end the service immediately.
To ensure it does not start again, change the Startup Type to Disabled. Click Apply and then OK to save your changes. Many users find that this single step resolves their performance issues. It reduces the amount of background data the drive must read. This is especially effective for computers using traditional hard disk drives. It allows the system to focus on user-initiated tasks instead of background maintenance. Monitor your disk usage after this change to see if it improves.
Managing Windows Search Indexing
Windows Search is another service that can lead to high disk utilization. It creates an index of all files on your computer to make searching faster. However, the process of indexing can be very demanding. If the index becomes corrupt, it may run in a loop. You can stop this service in the same Services window used for SysMain. Look for Windows Search and stop it. If your disk usage drops, you have found the cause. You may choose to leave it off or rebuild the index later.
Rectifying Driver and Firmware Issues
Updating Storage Controllers
Drivers act as the bridge between software and hardware. If a driver is outdated, it can cause the disk to work harder than needed. This is often true for the storage controller driver. You should visit the website of your computer manufacturer. Look for the latest SATA or NVMe drivers for your model. Installing the latest version can fix bugs that lead to high disk load. It ensures that the operating system talks to the drive in the best way possible. This step is a core part of system maintenance.
Fixing the StorAHCI.sys Driver Bug
A specific bug exists in some Windows systems related to the StorAHCI.sys driver. This bug occurs when Message Signaled Interrupt mode is enabled. It can cause the system to freeze when the disk is under load. To fix this, you must use the Registry Editor. This is a technical process that requires care. You will need to find the specific device ID in the Device Manager. Once found, you can disable the MSISupported key in the registry. This fix is often the final solution for users who have tried everything else.
Adjusting Virtual Memory Settings
Virtual memory is a file on your disk that Windows uses like RAM. When you run out of physical memory, Windows moves data to this file. If the settings for this file are not correct, it can cause disk spikes. Many systems are set to manage this size automatically. However, setting a manual size can sometimes offer more stability. You can find these settings in the Advanced System Settings menu. Look for the Performance section and click on Settings. Then move to the Advanced tab and click Change.
Uncheck the box for automatic management. Set a custom size that matches the recommended value shown on the screen. It is usually best to set the initial and maximum size to the same value. This prevents the file from constantly growing and shrinking. A static file size reduces the work the disk has to do. After you apply these changes, you must restart your computer. This resets the memory manager and can clear up disk congestion. It is a reliable method for improving overall system response.
Executing System Integrity Checks
Using the System File Checker
Corrupt system files are a common source of performance drops. Windows includes a tool called the System File Checker to find and fix these files. To use it, open the Command Prompt as an administrator. Type sfc /scannow and press the Enter key. The system will scan all protected files. If it finds a problem, it will try to replace the file with a healthy copy. This process may take some time to finish. It is a vital step for keeping the operating system healthy and efficient.
Running the Check Disk Utility
Physical errors on the disk can also lead to one hundred percent usage. The Check Disk utility can scan for these errors. In the Command Prompt, type chkdsk /f /r and press Enter. You will likely need to schedule this for the next time the computer starts. This tool checks the entire disk surface for bad sectors. If it finds any, it marks them so they are not used again. This can prevent the disk from getting stuck while trying to read bad data. Regular scans help extend the life of your hardware.
Conclusion and Hardware Considerations
Fixing high disk usage requires a logical path of action. We have covered software changes and system updates. Most issues are solved by disabling services or fixing drivers. However, if the problem stays after all these steps, the hardware may be the cause. Traditional hard drives have moving parts that wear out over time. When they begin to fail, they often show high disk usage. In such cases, the best solution is to upgrade to a solid-state drive. An SSD is much faster and more reliable than an older disk drive.
Maintaining your computer is an ongoing task. You should keep your software updated and monitor your background apps. Avoid installing too many programs that run at startup. By following the steps in this guide, you can ensure a smooth experience. Your computer will be faster and more capable of handling daily work. Professional maintenance leads to a better digital environment for everyone. We hope this guide has helped you regain control over your Windows system performance.
Disclaimer: This page contains links that are part of different affiliate programs. If you click and purchase anything through those links, I may earn a small commission at no extra cost to you. Click here for more information.