How to Easily Separate Names in Excel?
If you’re given a data sheet by your boss with a long list of names and they want you to separate names into different columns into different columns, it would be very inefficient and time-consuming to manually type all those names.
I will show you some tricks to easily separate names into different columns.
Separate names without using a formula
This first trick is quite simple. First, manually type the first name and last name of the name in the first row into their respective columns.

Next, click on the cell below the first name you typed. Press CTRL+E.

Repeat it for the column for last names, click the next cell, and press CTRL+E.

You will notice that first names that are composed of two names will not show up properly. You will need to type the second name manually.
Excel 365 can automatically separate name values after creating a table
If you are using Excel from the Microsoft 365 suite, it can automatically separate the values from the name after you create a table.
Highlight all the cells you need to extract the data from and the columns where the names should be placed.

Go the the Insert Tab, Click the option named Table

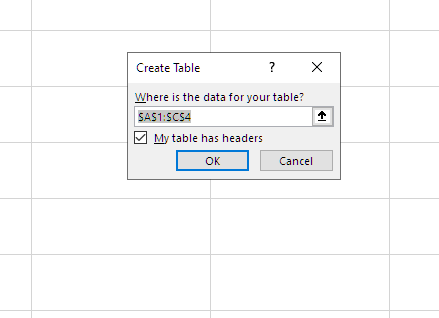
A prompt would appear. You don’t need to change the cells selected. Keep the check on the “My table has headers” option.

Copy the first name to the first column. When you are typing the second first name on the list, Excel will auto-populate the remaining blank cells in the column.

Press Enter and it will complete the column.

Do the steps above for the Last name.

You will need to manually type the complete first name if one first name is composed of two names.
Split the names using functions
In column B, type the formula =TEXTBEFORE
Inside the parenthesis pick the cell of the data you want to split.

You will need to determine what the delimiter would be. In this case, we will you the space to delimit the value we need for the First Name column, just type ” ” (it’s a quotation mark with a space in between. Then press Enter. Drag the formula to the rest of the column.

For the Last name, you need to type =AFTERTEXT in column C. After that the steps are quite similar to when you were getting the first name. Just add -1 as your instance to prevent the middle name or any name extension from getting added to the last name.

Unfortunately, you can’t add the middle by manually typing it on the cell.
Another good formula you can use is the =TEXTSPLIT function. It will split the names in your list if all the names contain First, Middle, and Last names. This function is only available to you if you are using the 365 version of Excel.


